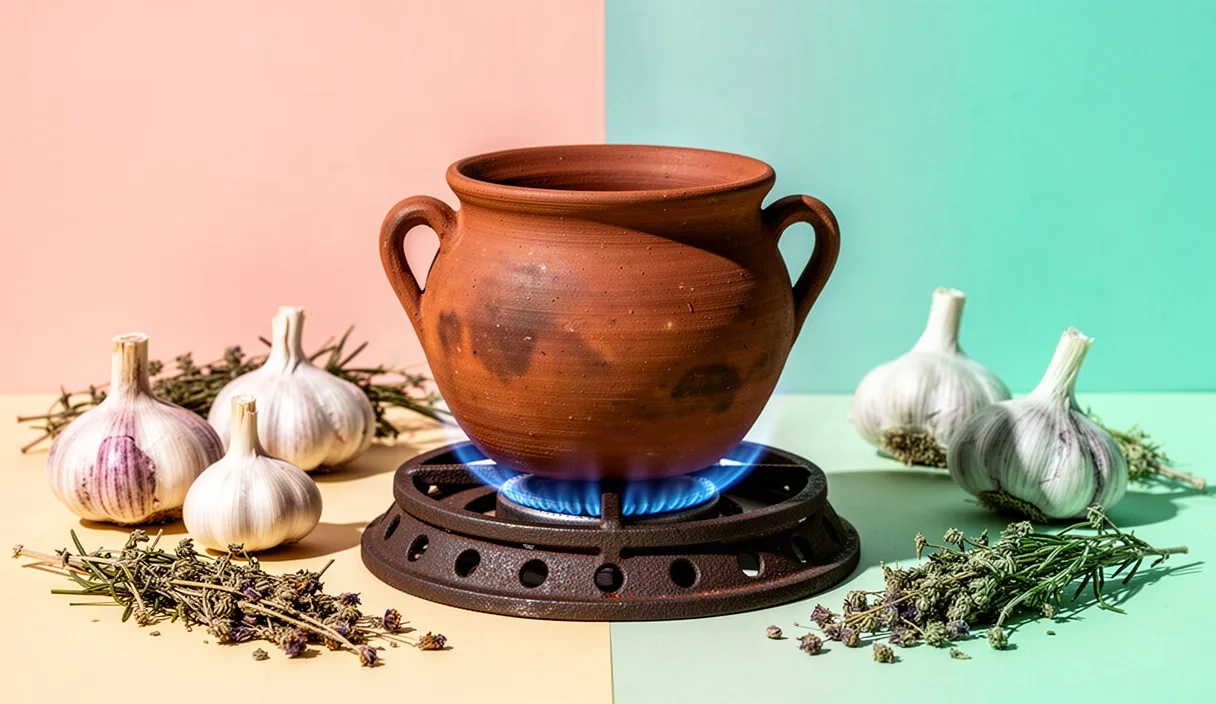
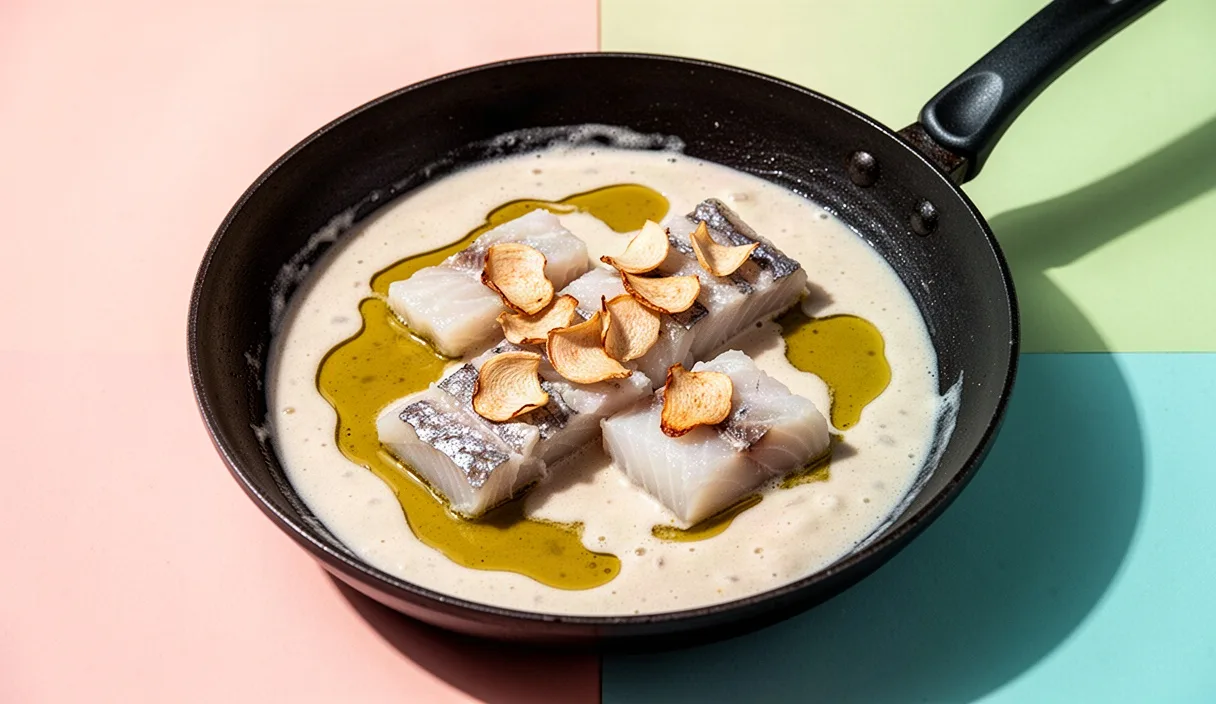
Walk down the Calle Somera in Bilbao on a wet November afternoon, and you will hear the low, rhythmic scrape of heavy cookware before you smell the garlic. Cod has defined the culinary life of Biscay for hundreds of years, brought home dry and stiff as oak planks by deep-sea trawlers, then transformed over charcoal or gas into something silken. Bacalao al pil-pil is the truest test of a Basque cook's patience because it strips the craft down to four components: salt cod, olive oil, garlic, and dried guindilla pepper. There is no cream, no flour, and no egg yolk to lean on. The sauce exists entirely through mechanical friction, drawing gelatin out of the fish tissue and suspending it in warm oil.
Cooking this dish in a heavy skillet requires an understanding of culinary physics. Modern home kitchens often lack the traditional clay cazuela de barro, but heavy cast iron or thick-bottomed carbon steel pans provide the precise thermal stability needed to build the sauce. Unlike a vinaigrette, which relies on high-speed whisking, a pil-pil forms through continuous low-shear agitation. If the oil is too hot, the fish proteins fry into crisp grit and will never bind. If the oil is too cold, the fats seize into a muddy film. Success comes down to managing the condition of the skin, controlling oil temperatures across two distinct cooking phases, and mastering the circular rotation of the pan.
Desalting cod while preserving essential fish collagen
The foundation of the sauce is not the cod flesh itself, but the collagen concentrated in the dermis and the thin gelatinous sheets between the muscle flakes. Salt cod purchased from reputable fishmongers comes preserved under a heavy crust of sea salt, which draws out water and stabilizes the flesh. To reconstitute the fish without washing away the water-soluble gelatin, you must control both the water temperature and the duration of the soak. Desalting at room temperature is an immediate error; ambient heat activates bacteria and weakens the structural integrity of the skin, causing the collagen to melt directly into the wash water and disappear down the drain.
Submerge the cut pieces in a bowl filled with cold water, maintaining a temperature between 4 and 6 degrees Celsius inside a refrigerator. The ratio should be roughly four parts water to one part fish by weight. For a standard loin cut measuring 3 to 4 centimeters in thickness, the desalting cycle requires 42 to 48 hours. Thinner tail cuts require only 30 to 36 hours. Change the water three times each day at roughly eight-hour intervals. With each change, handle the fish by the flesh rather than the skin to avoid abrading the delicate gelatin pockets on the underside.
A properly desalted loin should retain a faint, clean salinity, roughly equivalent to the salt level of sea broth. If you leave the fish in fresh water for 60 hours or more, it turns waterlogged, spongy, and bland. More critically, excessive soaking breaks the chemical bonds of the skin collagen, rendering it incapable of holding an emulsion later. Once the desalting period concludes, remove the fish from the water and pat it thoroughly with a lint-free kitchen towel. Let the loins rest uncovered on a wire rack in the refrigerator for two hours before cooking. This brief drying window forms a dry pellicle on the skin, preventing excess surface water from splattering when the fish enters the warm oil.
Gentle oil poaching to draw out gelatin without frying
The cooking process begins with cold-pressed olive oil, sliced garlic, and dried guindilla chillies. Pour roughly 180 to 220 milliliters of mild olive oil into the skillet. Strong, peppery extra virgin oils with high polyphenol counts tend to become unpleasantly bitter when heated and agitated; choose an oil pressed from Arbequina or Empeltre olives with low acidity. Set the pan over a medium flame and add eight peeled garlic cloves cut into thin coins, along with two dried chillies cut into rings. Let the garlic cook slowly until it turns a pale straw color. Lift the garlic and chillies out with a slotted spoon and keep them on a small plate for the final garnish.
Slide the cod loins into the infused oil. Traditional cooks debate whether the skin should face up or down first. The most reliable method is placing the loins skin side up for the first four minutes over low heat. The oil temperature must remain strictly between 58 and 64 degrees Celsius. At this temperature, the oil will not sizzle violently; instead, you should see tiny, lazy bubbles breaking around the edges of the fish. This is a gentle poach, not a fry. The heat denatures the native collagen in the subcutaneous layer, transforming it into soluble gelatin that seeps downward into the oil.
| Skillet Material | Heat Retention | Thermal Response Time | Suitability for Pil-Pil |
|---|---|---|---|
| Enameled Cast Iron | High | Slow | Excellent for maintaining steady low poaching heat. |
| Raw Cast Iron | High | Slow | Very good, though acidic oil can react with light seasoning. |
| Heavy Carbon Steel | Moderate to High | Moderate | Excellent for manual swirling due to curved, sloped sides. |
| Thin Tri-Ply Stainless | Low | Fast | Challenging; cools down too fast and causes the oil to break. |
Turn the cod over so the skin rests against the floor of the pan, cooking for another four to five minutes. Watch the bottom of the skillet closely. You will see small, milky white beads of albumin and liquid gelatin leaking out from beneath the skin, settling underneath the amber oil. These droplets do not mix with the fat on their own because water and lipid molecules naturally repel each other. Once the cod flakes yield gently to light thumb pressure, remove the pieces carefully with a fish spatula to a warm platter. Do not discard any liquid pooling on the resting platter; that moisture is pure gelatin and will be added back during the emulsion phase.
The cool-down rest period before beginning the swirl
Trying to form an emulsion in boiling or near-boiling oil is impossible. At temperatures above 70 degrees Celsius, the kinetic energy of the fat molecules is too intense, preventing the gelatin from forming a stable mechanical web around the dispersed oil droplets. Furthermore, excessive heat will cause the delicate proteins in the fish water to coagulate into solid white flecks, destroying the glossy texture of the sauce. You must allow the pan and its contents to cool before starting mechanical work.
Pull the skillet completely away from the heat source and let it sit on a wooden trivet or cool burner for six to eight minutes. The target temperature for building the emulsion sits between 42 and 48 degrees Celsius. At this point, you can comfortably touch the exterior rim of the skillet with your bare fingers for several seconds. As the pan cools, gravity will separate the liquid into two clear layers: the thick, golden olive oil will float on top, while the cloudy, water-based gelatin deposits will sink directly onto the metal floor of the skillet.
Check the consistency of the resting juices on the platter where your poached cod is waiting. Pour these cool juices directly into the skillet. If the oil appears completely dry of white droplets, your fish was either over-soaked or poached too dry. In that event, add a single teaspoon of lukewarm water to the bottom of the pan. Without this minute amount of aqueous liquid, the oil has nothing to bind with, and no amount of physical effort will turn the fat into an emulsion.
Circular skillet agitation technique and cadence
Now begins the physical labor that gives pil-pil its name, named after the quiet, murmuring sound the pan makes during movement. Grasp the handle of the heavy skillet firmly with one hand, protecting your wrist with a dry folded towel. Keep the base of the pan in flat, continuous contact with the stovetop or a smooth counter. Do not lift the pan into the air; you need the resistance of the flat surface to stabilize your movement and control the speed.
Move the pan in tight, continuous horizontal circles, keeping a steady diameter of roughly five to seven centimeters. The goal is to create a rolling wave inside the skillet where the heavier gelatin on the bottom is dragged across the oil above it, shearing the fat into billions of microscopic droplets. The proper cadence is approximately 110 to 125 rotations per minute. Maintain a calm, unbroken rhythm for three to four minutes without stopping. Shaking the pan back and forth violently will only splash oil over the rim; only a clean, smooth orbital motion generates the necessary laminar shear.
- Place the skillet on a flat, heat-resistant surface with the poaching oil at roughly 45 degrees Celsius.
- Anchor your feet and grip the skillet handle firmly, using your shoulder and forearm rather than just your wrist.
- Begin circular, clockwise rotations, making sure the pan bottom does not leave the surface.
- Observe the color change: the dark golden oil will first turn cloudy, then pale straw, and finally a dense, pale green-yellow cream.
- Once the sauce coats the back of a spoon like thin mayonnaise, return the cod loins to the skillet to warm through gently.
If your wrist tires or your skillet is excessively heavy, you can use the traditional Basque home-cook assistance technique: take a small, round wire tea strainer or a flexible silicone spatula and swirl it through the oil in tight circles against the bottom of the pan while keeping the skillet stationary. The mesh of the strainer breaks the surface tension and accelerates the droplet dispersion, forming the emulsion in roughly 90 seconds. While purists insist on moving the entire pan, the physics remain identical: both methods use mechanical shear to force water-soluble gelatin and olive oil into a suspended bond.
Mending separated emulsions using residual skin gelatin
Even seasoned cooks occasionally encounter a split pil-pil. A broken sauce separates rapidly into two unappealing components: clear yellow grease floating over granular white curds on the pan bottom. This separation happens for two common reasons: the pan was allowed to drop below 35 degrees Celsius, causing the fats to stiffen and reject the water, or the cook introduced heat too quickly, boiling off the moisture required to hold the droplets together.
To mend a broken emulsion, you do not need to start over with new oil or discard your work. Move the cod pieces back to a warm plate and pour the broken oil mixture out of the skillet into a heat-safe measuring jug. Leave the skillet off the heat. Take one piece of the poached cod, peel off a small section of the cooked skin, and place that skin directly against the warm skillet floor. Add one tablespoon of lukewarm water to the pan.
Using a small wire whisk or the flat side of a wooden spoon, rub the fish skin vigorously against the metal floor with the water. The friction will rapidly extract the concentrated gelatin remaining in the dermal tissue, turning the water into an opaque, frothy liquid within thirty seconds. Now, treat this froth exactly as you would an egg yolk when making a classic mayonnaise: begin pouring your broken oil mixture back into the skillet in a slow, thread-like stream, whisking or swirling continuously. The fresh burst of dissolved collagen will immediately capture the dispersed oil, pulling the entire pan back into a stable, velvety cream.
Common mistakes
- Over-boiling the poaching oil: Letting the oil climb past 75 degrees Celsius fries the cod skin, hardening the collagen into a crisp shell instead of dissolving it into gelatin.
- Desalting in warm tap water: Soaking salt cod at room temperature ruins the muscle fibers and allows soluble proteins to leak out into the discard water before cooking starts.
- Aggressive vertical tossing: Flipping or lifting the skillet breaks surface tension unevenly and fails to provide the continuous shear stress needed for emulsion.
- Ignoring water balance: An emulsion requires both oil and water. If all moisture evaporates during a hot poach, the oil cannot emulsify without an added splash of cool water.
- Using bitter high-tannin oils: Selecting robust, peppery olive oils produces an astringent, cloudy sauce that overpowers the subtle sweetness of the cod.
Practical next steps for the kitchen
Before attempting this preparation, verify the thickness and curing method of your fish. True salt-cured cod (*Gadus morhua*) is mandatory; fresh cod fillets lack the concentrated collagen density and firm cellular walls developed during the traditional salting process. If you are uncertain about the salt content of your fish, slice a sliver from the thickest part of the loin after 36 hours of soaking, drop it into boiling water for two minutes, and taste it. It should taste mild, like clean broth, without sharp saltiness.
Ensure your heavy skillet has a flat, smooth bottom and broad, gently sloped sides to facilitate the circular movement of the oil. Set your prep station with your garlic and chillies sliced, your resting platters warmed, and a dry cloth ready for handling hot metal. Focus your attention on temperature control rather than speed: allow the poaching oil to calm down completely before you attempt the swirl, and trust the natural chemistry of the fish skin to bring the sauce together.